

API key overview
API keys provide:- Organization scope - Each key belongs to one organization
- Granular permissions - Control exactly what each key can access
- Two key types - User keys tied to your account, bot keys tied to your organization
- Secure generation - Cryptographically random, shown only once
Key types
H0p offers two types of API keys for different use cases:- User keys
- Bot keys
User keys are linked to your personal account:
Creating an API key
1
Navigate to API Keys
In the dashboard, go to Developer Tools > API Keys.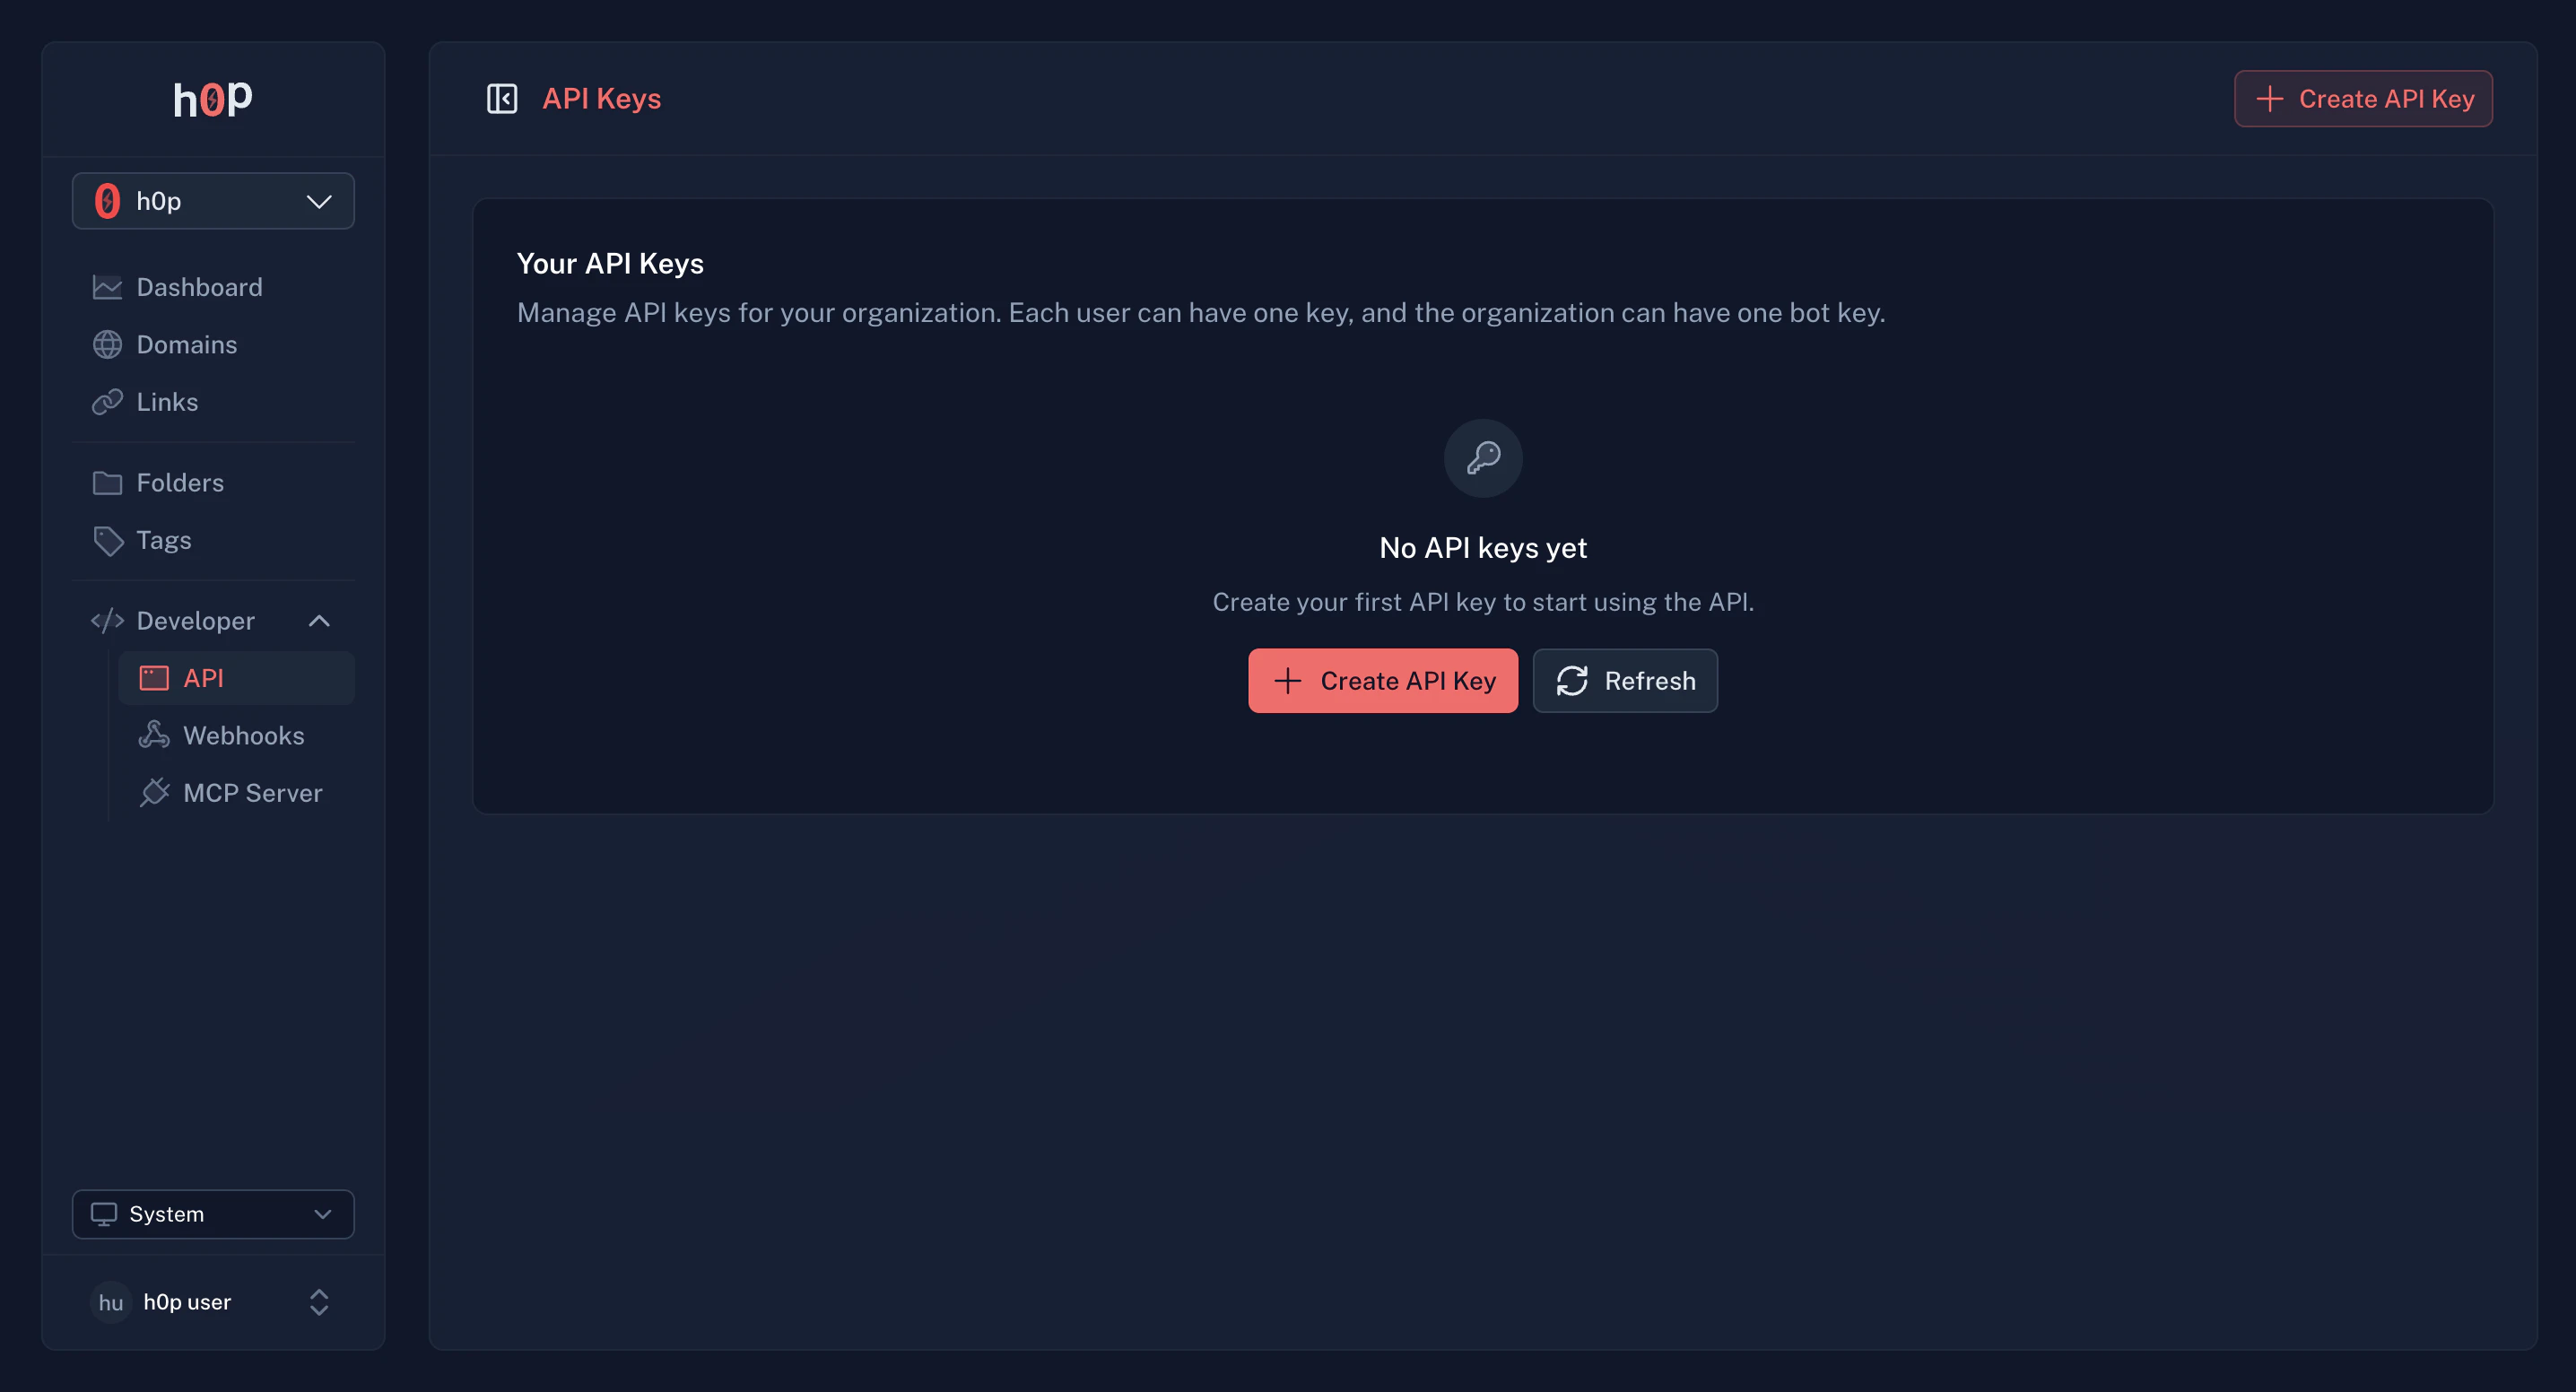
2
Click Create API Key
Click the Create API Key button to open the creation form.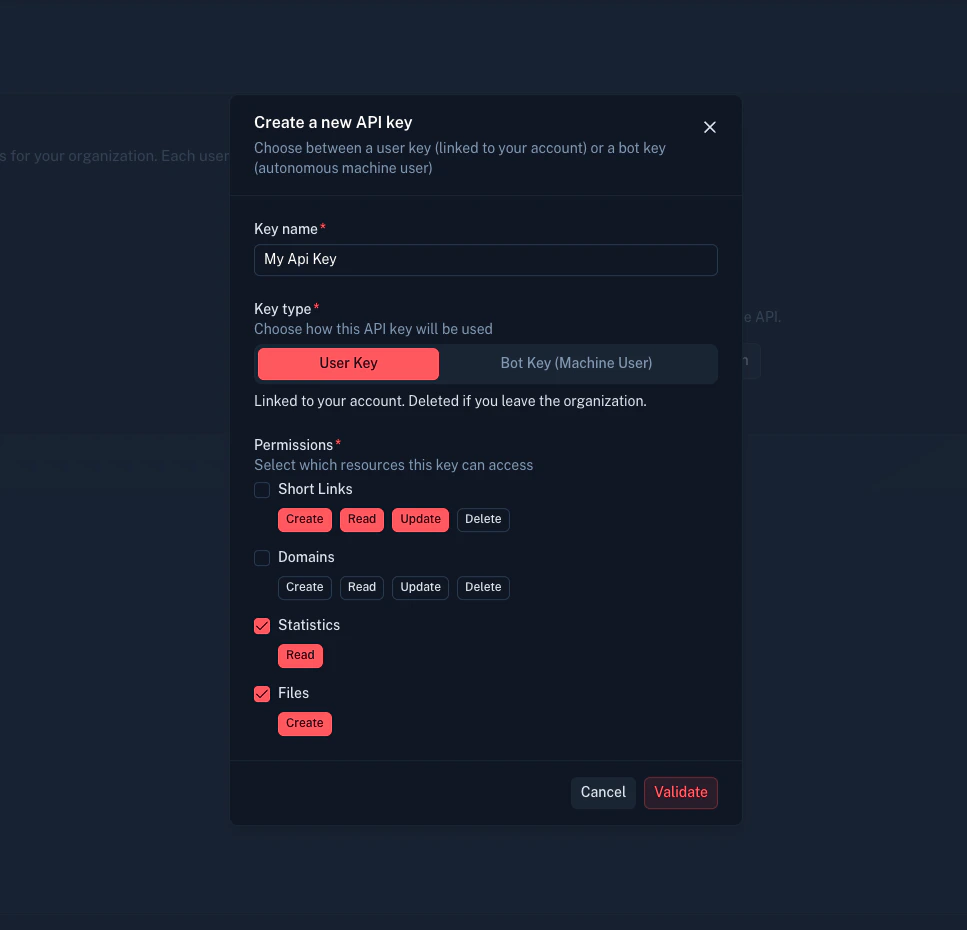
3
Choose key type
Select whether to create a User key or Bot key:
- User key - Tied to your account, deleted if you leave the organization
- Bot key - Tied to the organization, persists independently of team members
4
Configure permissions
Select the permissions your key needs. See Permissions below for details.
5
Copy your key
Your API key is displayed only once. Copy it immediately and store it securely.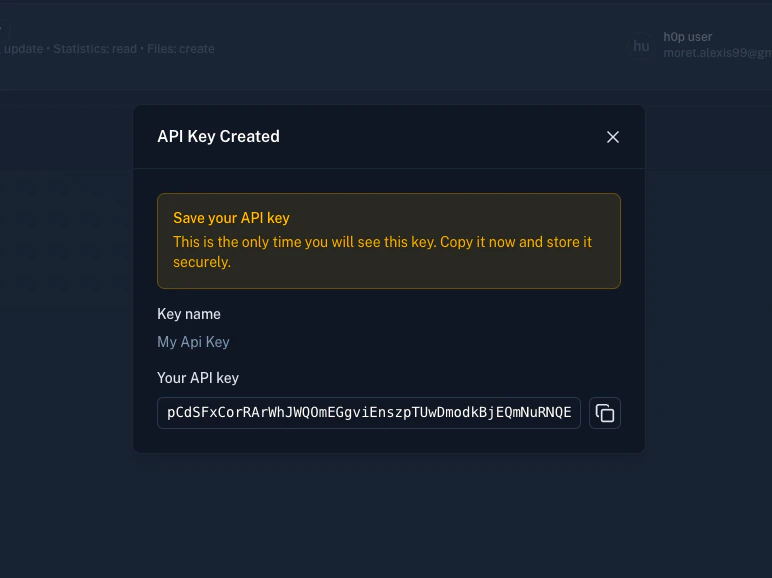
Permissions
API keys use a granular permission system. Each key can be granted specific actions for different resources.Available resources
Available actions
Example permission configurations
Read-only analytics:Using your API key
Include your API key in thex-api-key header with every request:
POST request example
Using environment variables
Never hardcode API keys. Use environment variables:- Linux/macOS
- Windows (PowerShell)
- Node.js
- Python
Managing API keys
View your keys
See all your organization’s API keys in Developer Tools > API Keys: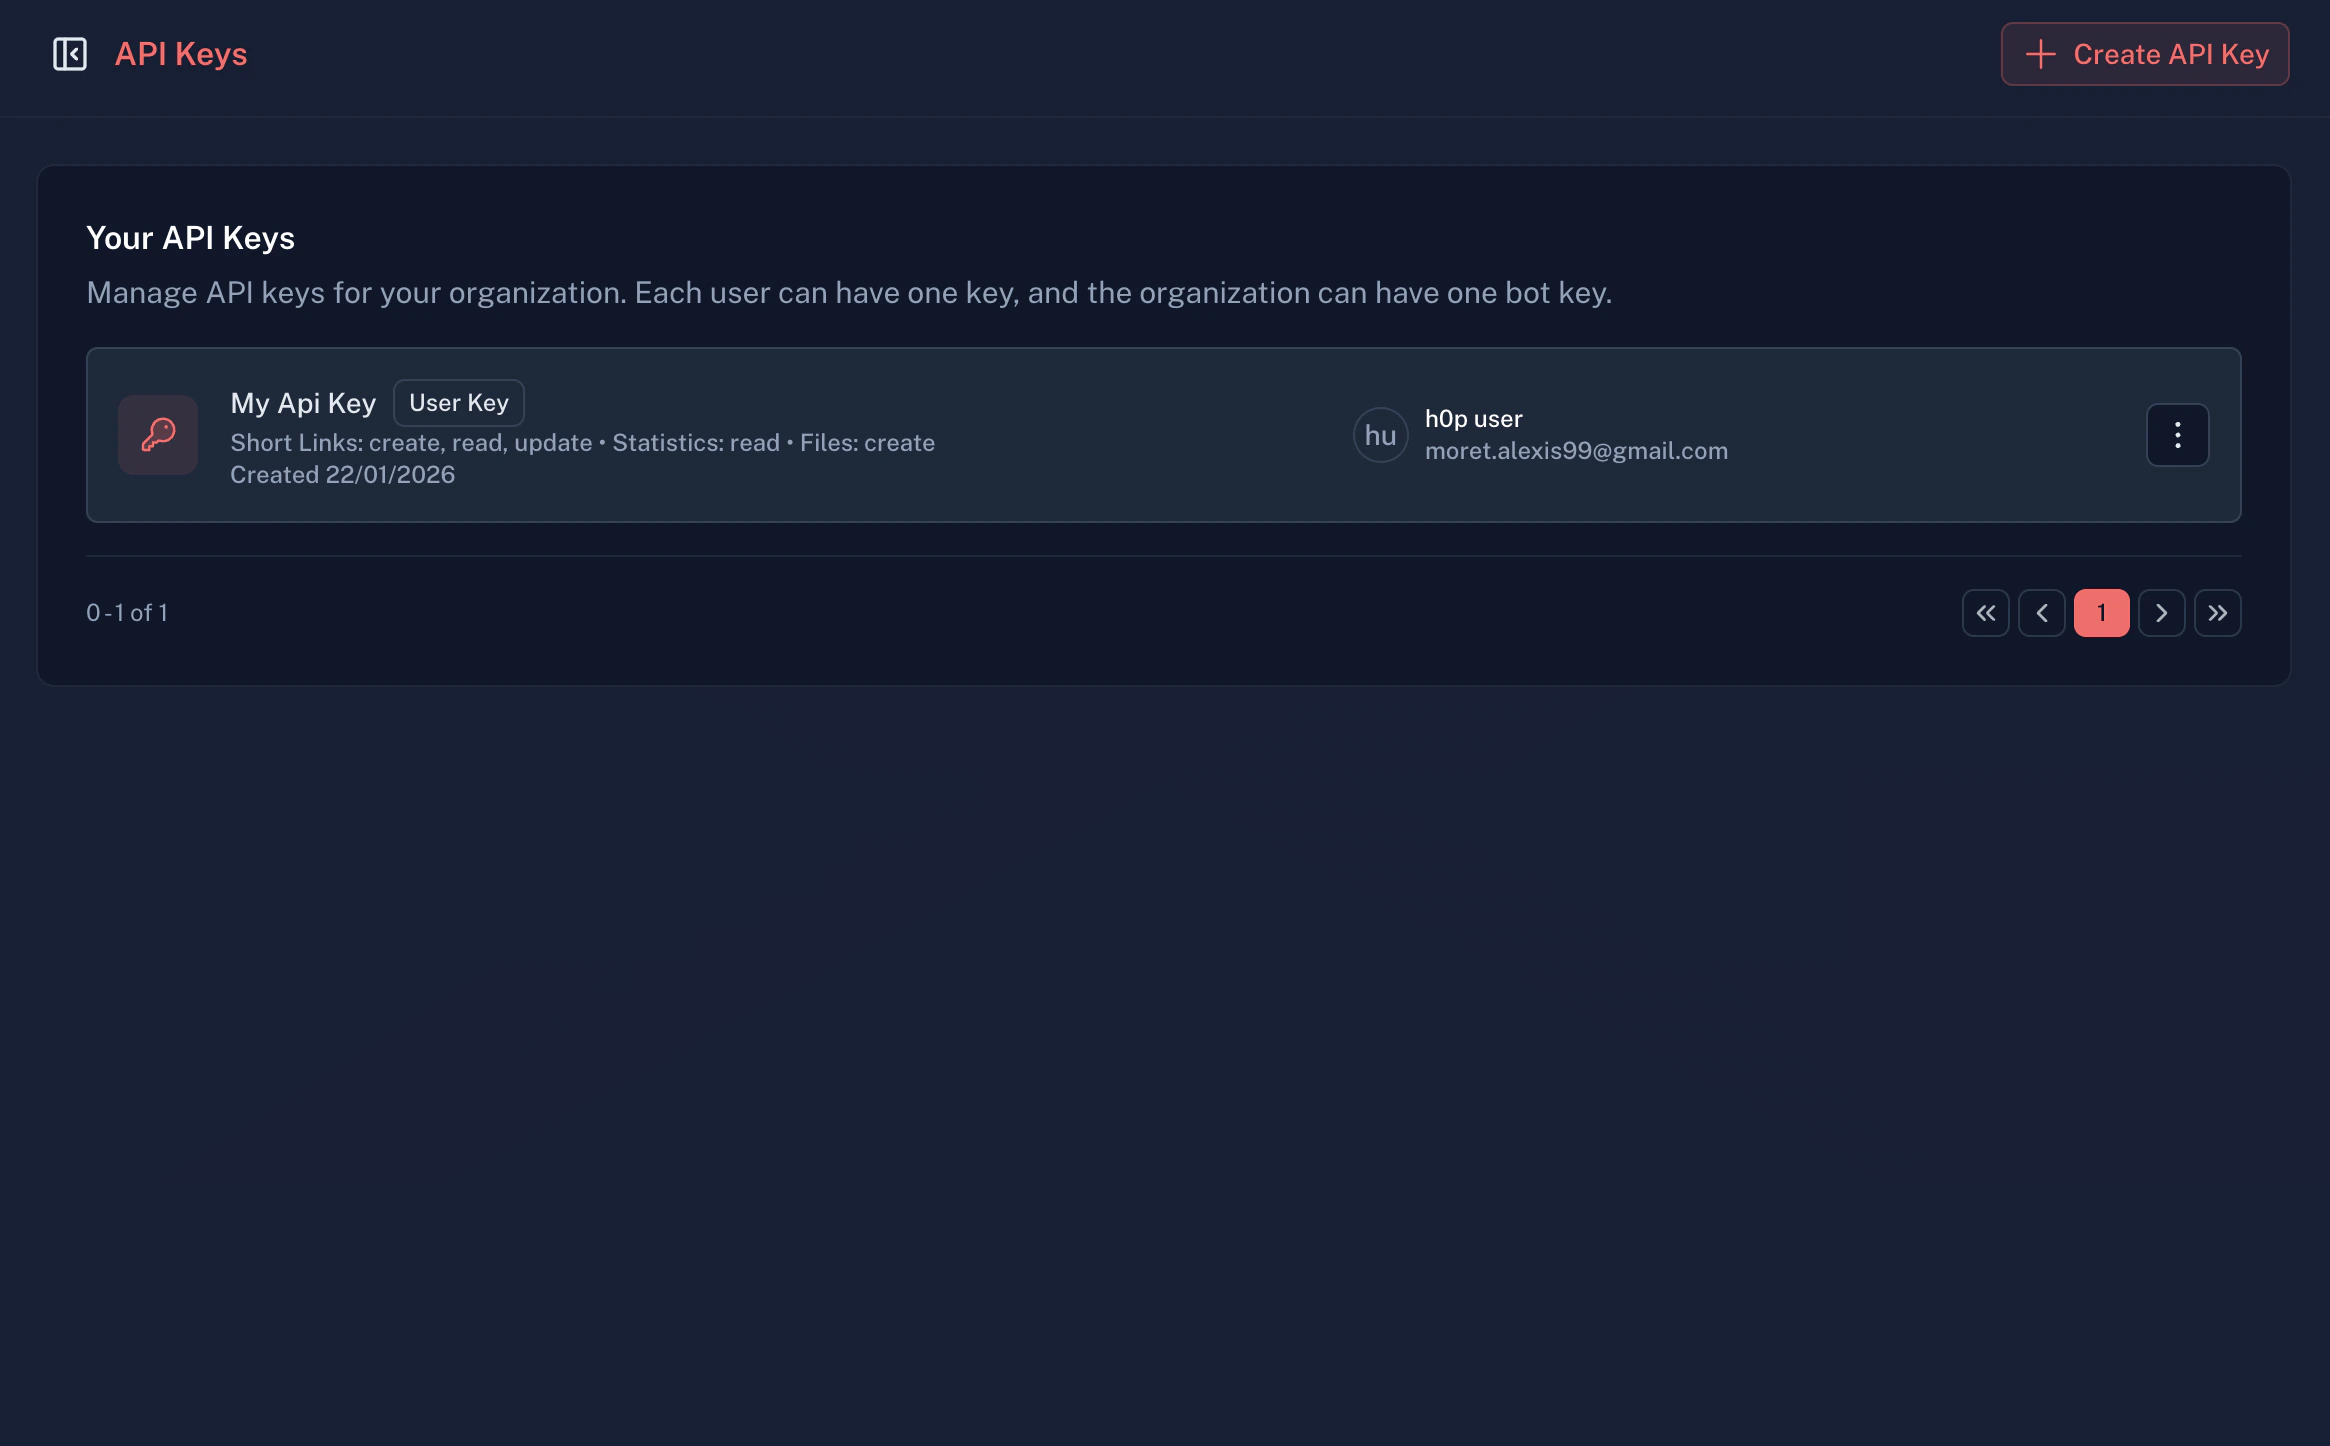
- Key name and type
- Associated user (or “Bot” for bot keys)
- Permissions summary
- Creation date
- Last 4 characters for identification
Update key permissions
- Click on a key to open its details
- Modify the permissions as needed
- Save changes
Revoke a key
If a key is compromised or no longer needed:- Go to Developer Tools > API Keys
- Find the key you want to revoke
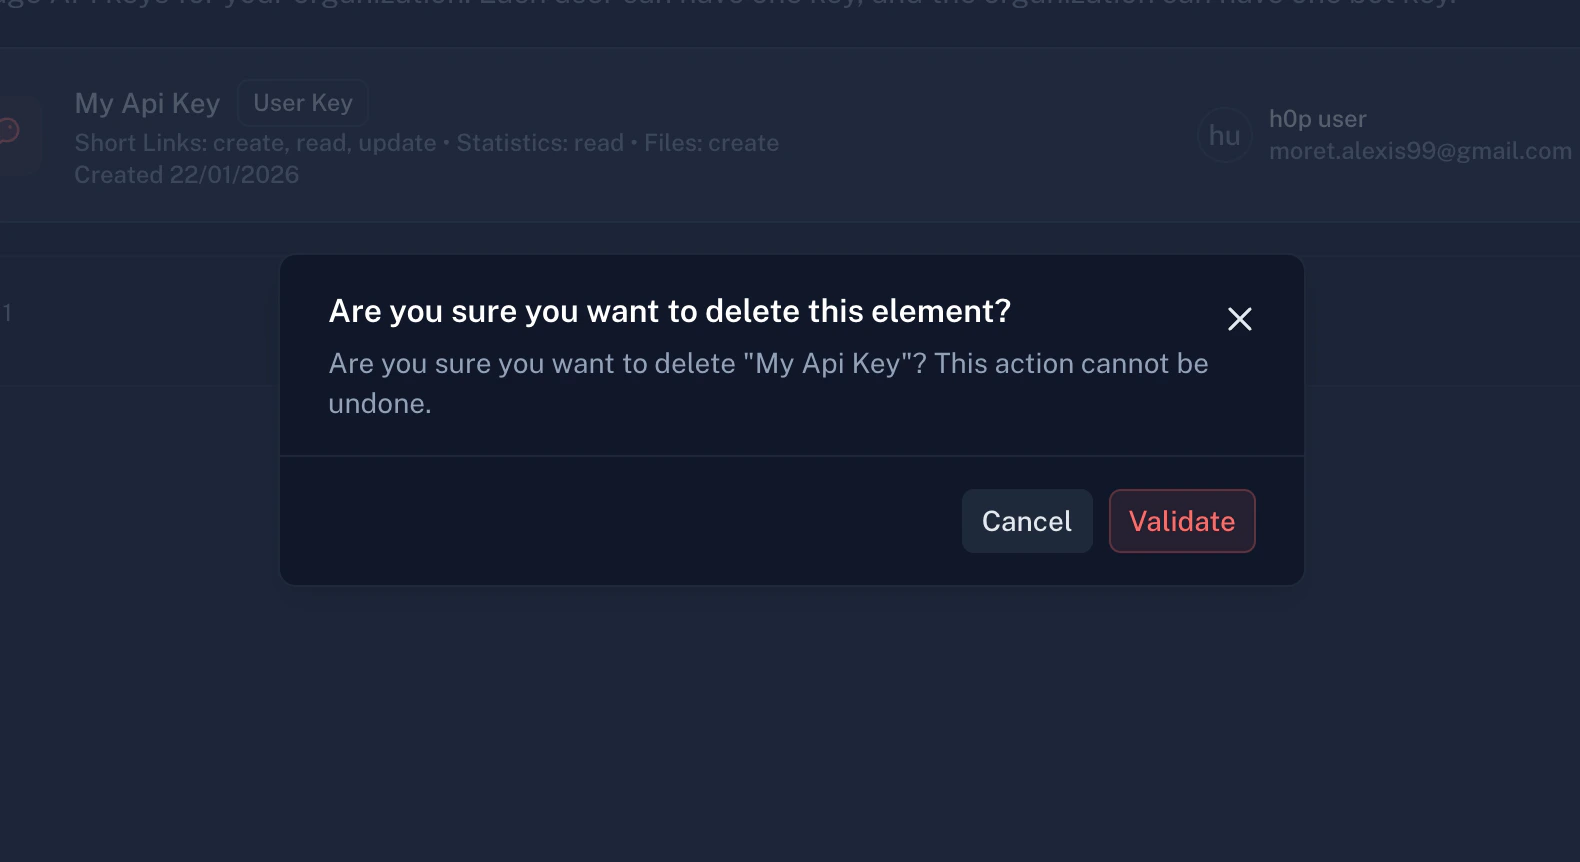
- Click the Delete button
- Confirm the deletion
Security best practices
Store keys securely
Store keys securely
- Use environment variables, not hardcoded values
- Never commit API keys to version control
- Use a secrets manager for production (AWS Secrets Manager, HashiCorp Vault, etc.)
Limit key exposure
Limit key exposure
- Never expose keys in client-side code (browser JavaScript, mobile apps)
- Don’t share keys in Slack, email, or other channels
- Make API calls from server-side code only
Use minimal permissions
Use minimal permissions
Only grant the permissions your integration needs:
- Analytics dashboard?
stats: ["read"]only - Link creation tool?
shortLinks: ["create"]only - Don’t grant
deleteunless necessary
Rotate keys regularly
Rotate keys regularly
- Create new keys periodically (e.g., quarterly)
- Revoke old keys after migrating to new ones
- Immediately revoke any potentially compromised keys
Use separate keys per environment
Use separate keys per environment
Create distinct keys for:
- Development
- Staging
- Production
Monitor usage
Monitor usage
- Review API usage in the dashboard
- Watch for unexpected activity patterns
- Set up webhooks for audit logging
Error handling
401 Unauthorized
Returned when authentication fails:- Missing
x-api-keyheader - Typo in the API key
- Key has been revoked
- Using wrong header name (use
x-api-key, notAuthorization)
403 Forbidden
Returned when your key doesn’t have permission:- Key doesn’t have the required permission for this resource/action
- Trying to access resources from another organization
Handling auth errors
Next steps
Quickstart
Make your first API call.
API introduction
Learn about all available endpoints.
Webhooks
Set up real-time notifications.
Contact support
Get help with authentication issues.